Day three was a continuation of preparing the pieces and components of the shoe, and coming to grips with tools, and for the first time, some machines. Sewing machines mainly. Plus brogueing.
To fit together, the pieces of leather need to be cut with allowance for sewing; small extra edges that fit under or over each other or provide room for sewing, and for the forming of the shoe upper over the last; So a two dimensional shape that accomodate the three dimensional shape of the last. So a lot of planning around cutting out the shapes, and sorting out the way they fit together, plus the style of the shoe, boot or sandal, is about this business of determining the cutouts and their shapes. Its also one of the bits where one can get guided by traditions and a body of knowledge. There is a long history that a well trained and educated shoemaker can draw on that allows this quite complex process to be worked out.
Once those basic shapes are determined, there are some things that you have to do with the shapes —making allowances for the sewing margins for instance— and things that you might choose to do for decorative or stylistic reasons. So one might chose a straight line rather than a curve in some parts, or vice versa.
One of the things you might choose to do is adding a brogue pattern to an edge of a pattern, or into the body of a shape itself. I briefly flirted with the idea of a rather full on brogue, but in the end the leather was interesting enough in its own right. But I have gone for a little bit.
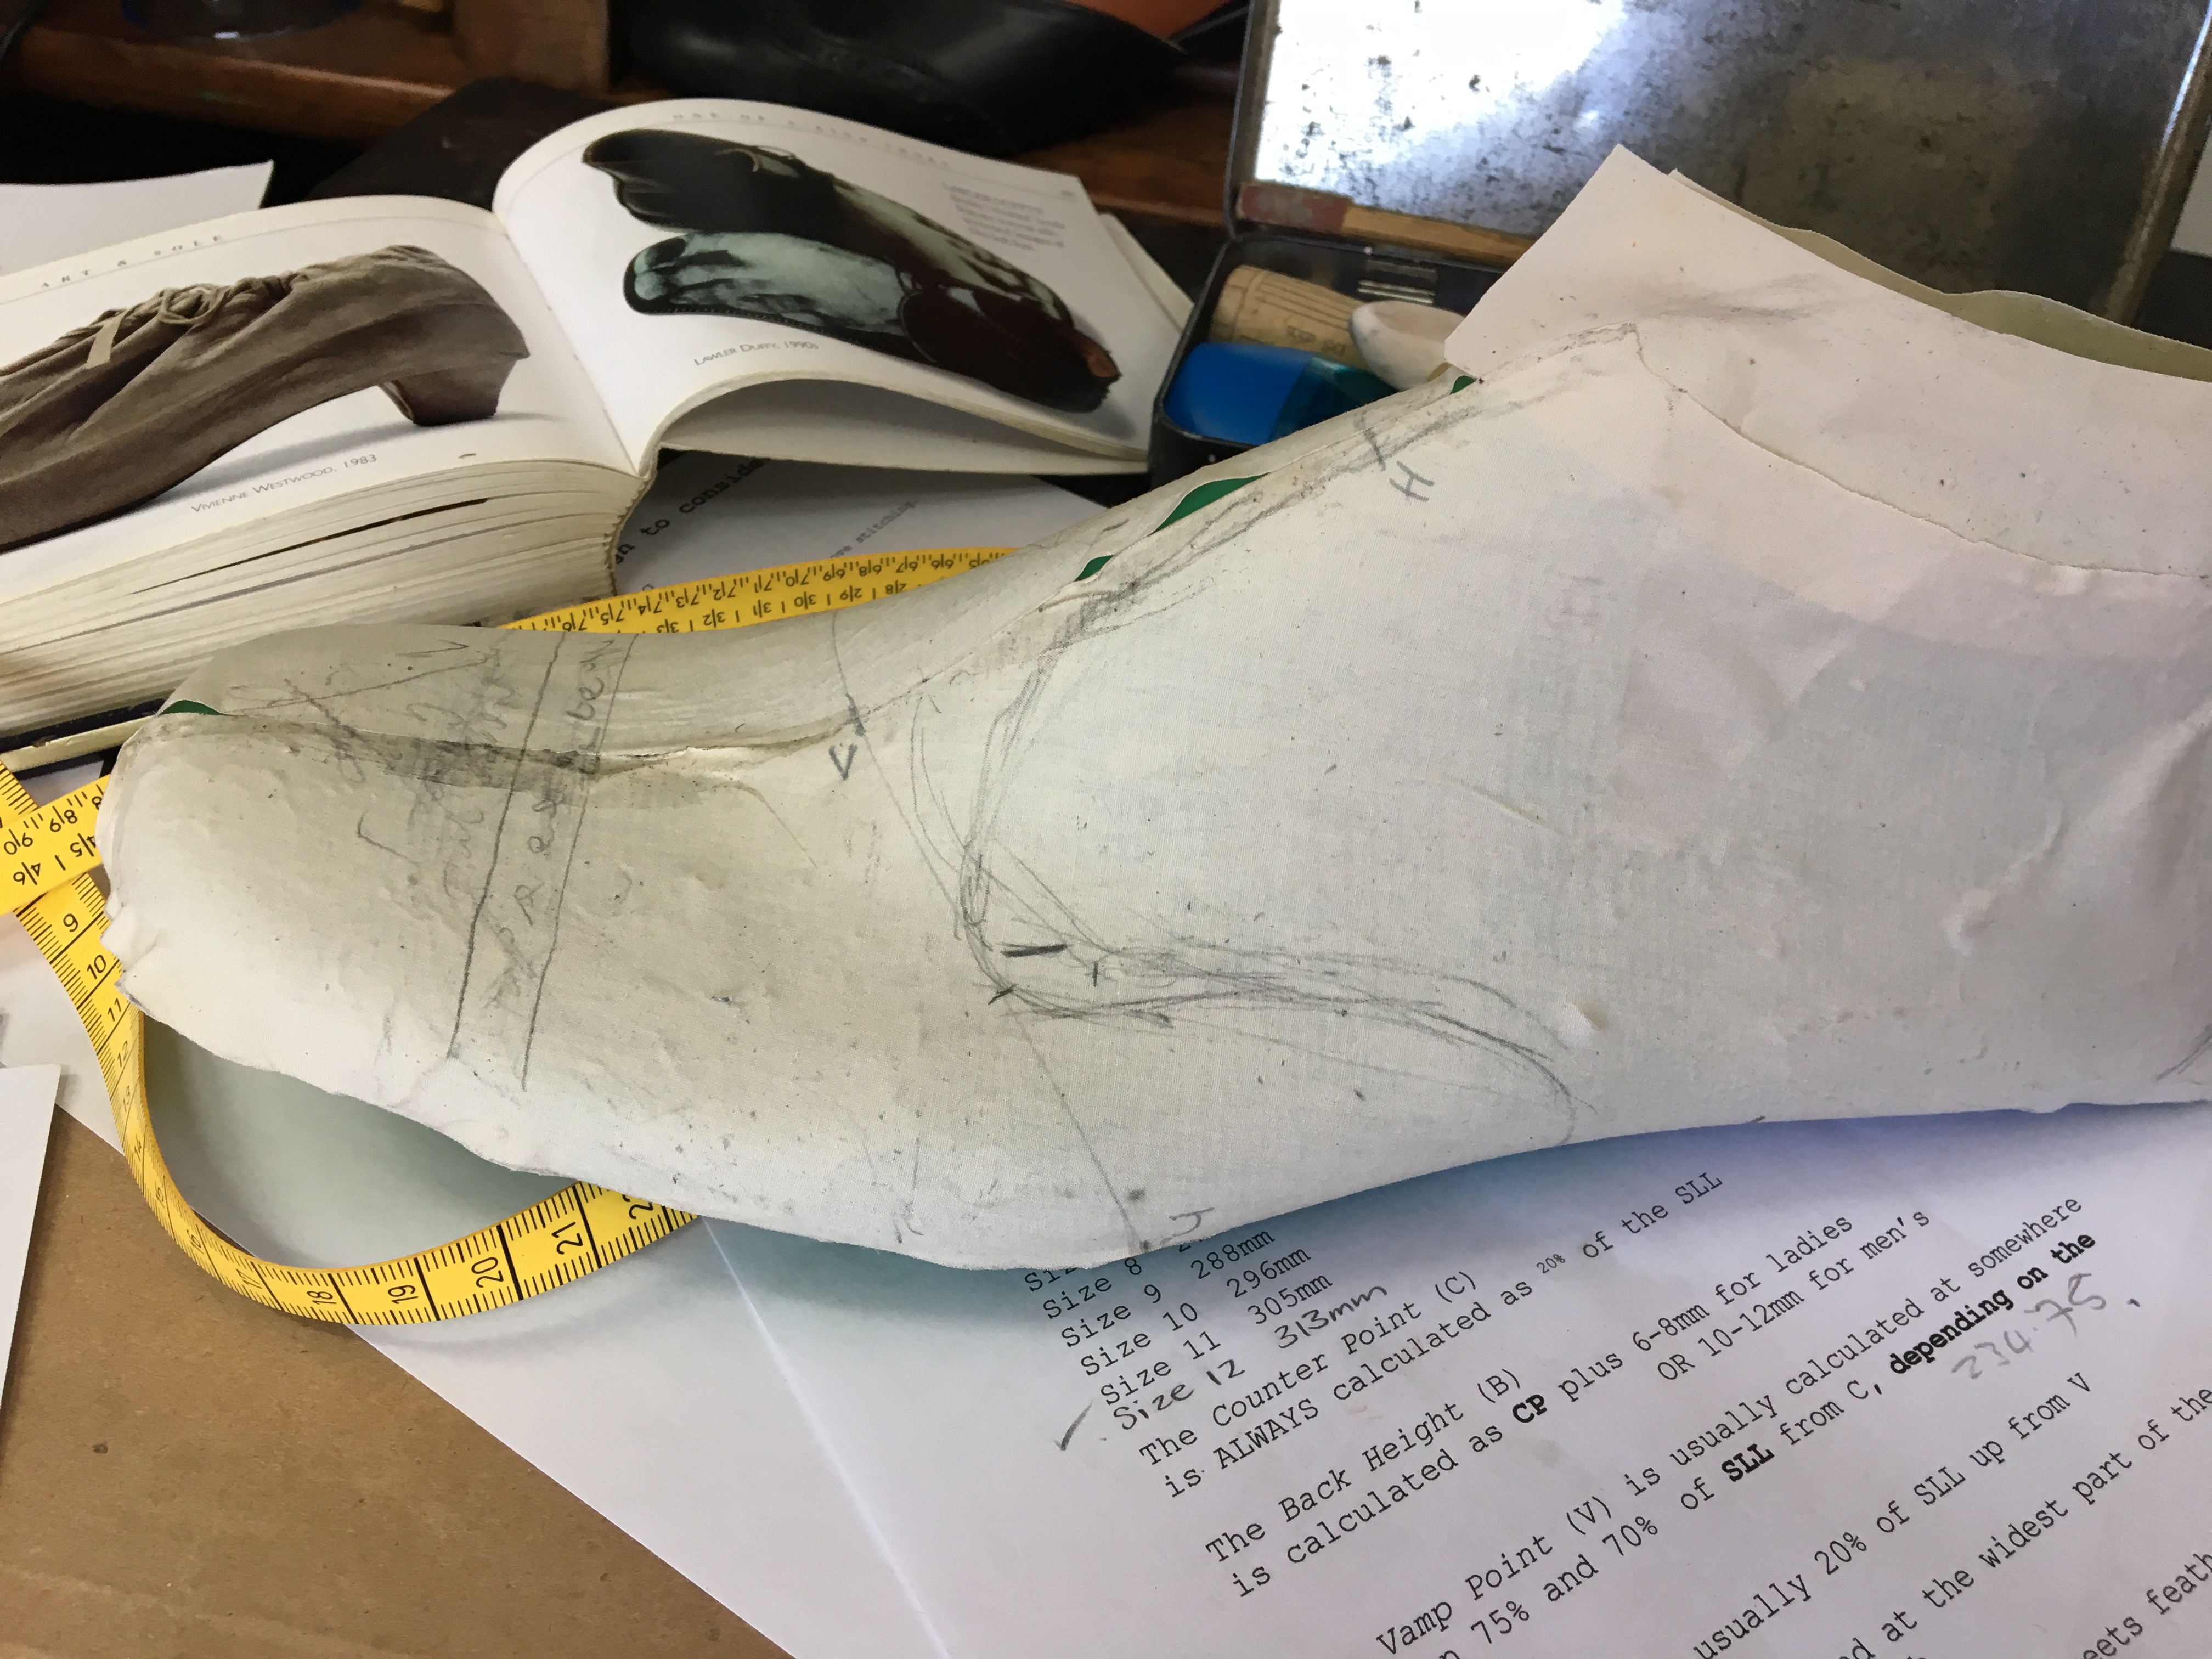
The last covered with material to make the plan, along with some sketching on it to start determine the plan of the shoe.
So you can see in the image of the last covered with material, that there is some sketching on it for trying out ideas for the shoe design. At one stage I was thinking of a cap toe design, and you can see it had a possible brogue pattern on the the edge of that cap toe in this picture; a small series of holes in a pattern.
One of the key edge details you might notice on the style of shoe I am making is where the quarter comes up over the vamp. In the end I went for a brogue pattern along that front edge of the quarter as I didn’t go for the cap toe, and I decided that a full on brogue pattern in the front might be a bit much.
Brogue was a process of accommodating the seams and the pattern of the brogue, allowing this extra overlap in the cut out piece of leather; marking, and then punching the design using a set of punches.
All in all, a straightforward and not particularly complex process, except that you need to pre-plan it. You can’t suddenly change your mind about it. Basically, this is all at the parts prep stage where these decisions get made. If I wanted a colourful piece of leather beneath the brogue, that too would need to be accommodated, and planned for, at the cutting out stage.
Skiving.
To fit the pieces together requires overlaps, and butting together etc to accomodate sewing. These seams when sewn together can be quite bulky, creating lumps and lines of raised areas. Particularly on the inside that might be felt through the lining of the shoe, these might be uncomfortable. Stiff bulky leather also needed to fold over sharp corners at some points, so needed to be made thinner and more flexible. So the leather needs to be made to different thicknesses, or to be shaved to an edge.
To alter the thickness, and to make edges of the leather wedge shaped, required the leather to be shaved down to a thinner edge by a process called skiving. This requires a very sharp tool that can shave the leather to a fine edge. The tool I ended up using was a modern knife with a replaceable blade. Sue used a knife with a straight edge, and traditional skiving knives are also curved.
Ideally I would do this left handed, but all the knives with curves were for right handers. I tried a few straight edged blades, but the grind matters too. Like a plane, you want your skiving knife to have a slight angle, and to be ground one side flat (facing up) and one side bevelled, facing the material being worked, so it doesn’t dig into the material too much.* So I ended up doing this right handed. The grip also matters, and there appears to be something interesting going on with the cut and the grip/material/blade/eye co-oridination necessary to get this all together. Notice in the photo that the beginning of the cut is on the material.
It took a while to get all this sorted.
Machines.
The hand tools I have managed reasonably well so far. But the manufacturing process I have felt the last confident on has been using the sewing machines.
It turns out that using an older sewing machine relies on a whole new bit of hand-foot-limb co-ordination that I didn’t take to immediately.
I’ll probably talk a bit more about this over the next few posts, but having a “heavy” foot without much control was problematic. I would put my foot down on the pedal, and the machine would do nothing, nothing, nothing, and then suddenly zip forward without much control. The subtlety of the foot movement was difficult, and will be the new thing to master. At least, to the extent I don’t make a complete screw up of it.
I tried three of Sue’s machines, in the end preferring the third one, (not the Singer or the Pfaff). My sticking was rather wobbly, but improved over time.
I hope I can keep the stitching reasonably tidy as I come to the construction process. Some of this is going to show up on the final shoe, so ideally it will be neat, have some nice lines, and be presentable. Ideally. The one bit of assembly I did do on day three, sewing the outer quarters together, suggests I can get the hang of things, but I am slightly concerned that my practice sessions aren’t enough to get muscle memory happening, and the control is going to be a bit patchy over a long day. We shall see.
There may be tears. But more likely to be winces, and hoping no one looks too closely.
*This topic is going to need an entirely independent post, with drawings, diagrams, and research to back it up, to explain precisely what is going on here.


0 Comments